Right around New Years I got the urge to try cranberry orange quick bread.
I scoured Pinterest and various other baking blogs, and picked one I thought looked good. It was awful! The bread didn’t rise at all and the crumb was dense and tough.
I’m not going to name and shame, because that’s not what we do here, but I also wasn’t satisfied to leave it there. More research, more reading. Finally I found a recipe I had some confidence in, and I put it to the test last night (with some minor tweaks).
My dudes, it is FANTASTIC. Have you ever had one of those cranberry orange muffins from Panera? THIS IS JUST LIKE THEM. I mean– JUST LIKE THEM (except in loaf form).
So, to save you the trouble of trial and error, here’s the one you want…

| Prep Time | 25 minutes |
| Cook Time | 75 minutes |
| Servings |
Loaves
|
- 2 cups sugar
- Zest of 2 large oranges
- 3 cups all-purpose flour
- 1 teaspoon salt
- 2 teaspoons baking powder
- 1 1/2 cups buttermilk
- 1 cup vegetable oil
- 4 large eggs whisked / beaten
- 2 tablespoons orange juice
- 1 teaspoon vanilla extract
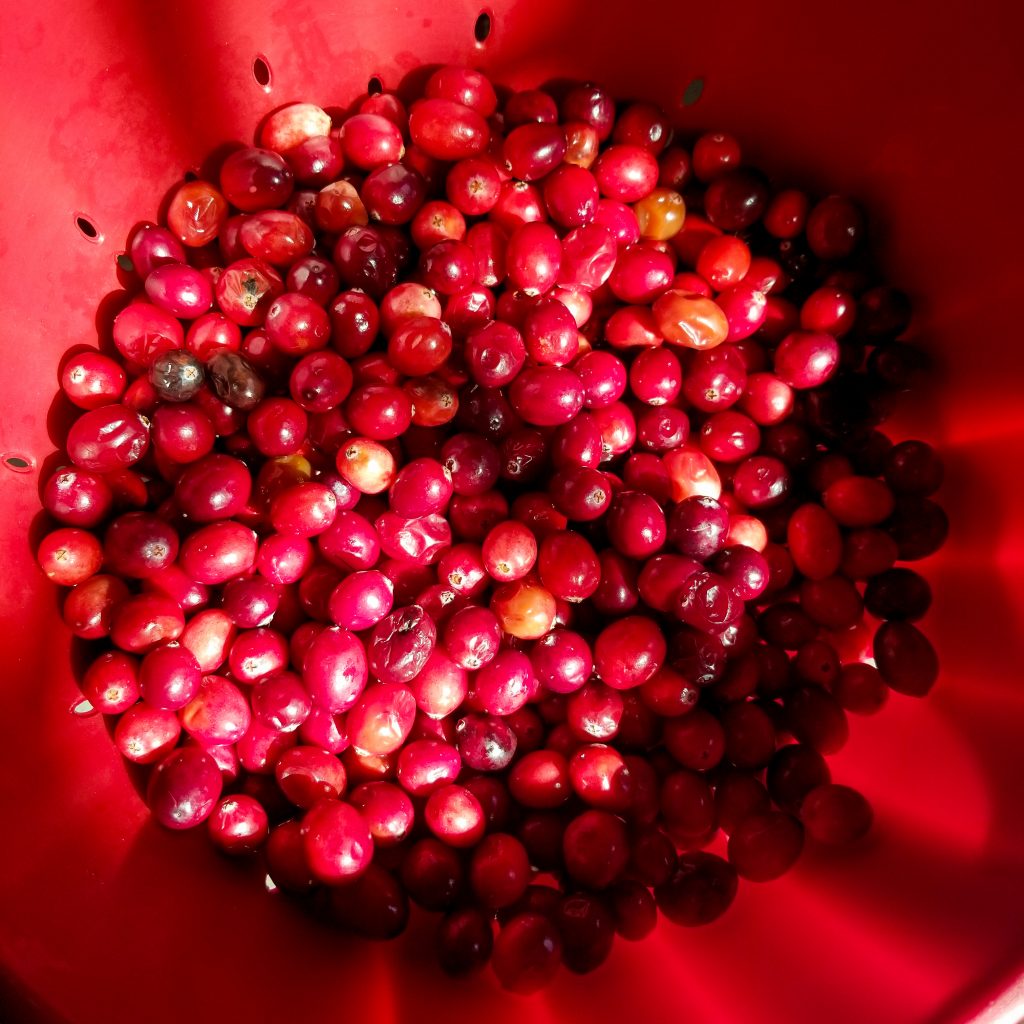
- 2 cups fresh cranberries halved
- Sanding Sugar (optional)
Ingredients
Dry Ingredients
Wet Ingredients
Fruit
Topping
|
|
- Halve the cranberries.
NOTE: This will take a few minutes, but it is worth it, and here's why: while I'm cutting these babies in half, I'm also checking them for ripeness. I don't want spoiled cranberries in my beautiful bread! So, if I came across one that was too brown or too soft to stand up to the knife, it went into the compost bin with love. Once I'd chopped 2 full cups, I was ready to get started knowing that every bite would taste amazing! - Gather your ingredients + 2 large mixing bowls, a whisk, and a spatula
- Pre-heat the oven to 350° F
- Grease two 9" x 5" loaf pans with Crisco or cooking spray. I like to get a tablespoon of Crisco in each one and grease it really well with my (washed!) hands because I've had mixed luck with the spray, but you do you, boo!
- In Bowl #1: Add your 4 large eggs, and whisk them vigorously until they start to froth a bit.
- In Bowl #1: Add the rest of the wet ingredients -- buttermilk, oil, orange juice, and vanilla -- and stir to combine. Set this aside for now.
- In Bowl #2: Start by putting the sugar in the bowl. Add the zest of 2 large oranges, being careful not to zest your thumb in there. Now, this is very important: whisk these together until the mixture is soft and fluffy and well combined. This binds the orange zest to the sugar and gives the bread its nice, orangey flavor!
- In Bowl #2: Add the rest of your dry ingredients - flour, salt, and baking powder - and stir them together until fully combined.
- Slowly add the wet ingredients to the dry ingredients, gently stirring after each addition, until everything is in one bowl. Your mixture will be super wet - almost a soup! at some points - but keep gently stirring until it is just combined into a nice, thick batter.
- Fold in the cranberries
- Pour the batter into the pans
- Bake for 60-75 minutes. Mine needed every bit of 75, but if you've got a fan-assisted oven, yours might need less. Just be sure to watch it, and test with a toothpick. Bring them out when the toothpick inserted into the center of the loaf comes out without batter stuck to it.
- Once baked, remove the pans from the oven, top with sanding sugar, and let them cool on the stove top for about 10 minutes.
- If necessary, use a knife to separate the loaves from the sides of the pan. Turn them out onto a wire rack and let them cool completely -- if you can resist cutting them that long!
This can be made as mini-loaves or muffins. For mini loaves, 35 - 45 minutes should be sufficient for baking. For muffins, plan on about 25 to 30 minutes.
Many recipes online have an orange glaze that goes with this. I don't personally like it. I think it's too tangy and sharp, and it doesn't actually do anything to the bread which is gorgeous. I topped mine with a bit of sanding sugar, and that was more than enough for me! If you must have a glaze, there are lots of options out there. Most combine 1.5 cups of powdered sugar with 2 tablespoons of orange juice and either a teaspoon of orange zest or a teaspoon of vanilla. Whisk that up and pour it on. Not for me, but you make up your own mind!
This bread can be frozen and stored. Once cooled, place it in a freezer bag or airtight container and stick it in the freezer. It will keep for 2 to 3 months. When you're ready, bring it out and let it come to room temperature naturally.
This recipe was adapted from Tastes Better from Scratch, who adapted it from Two Peas and Their Pod